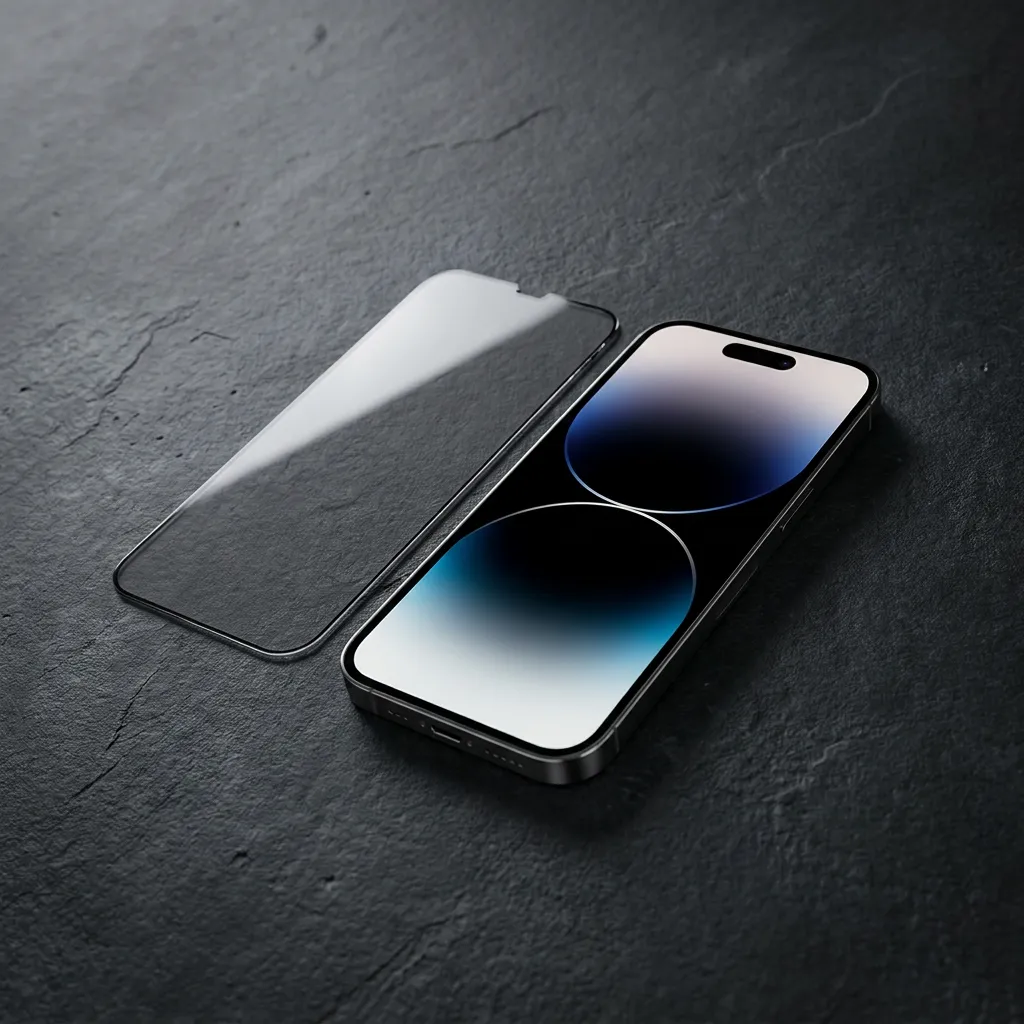
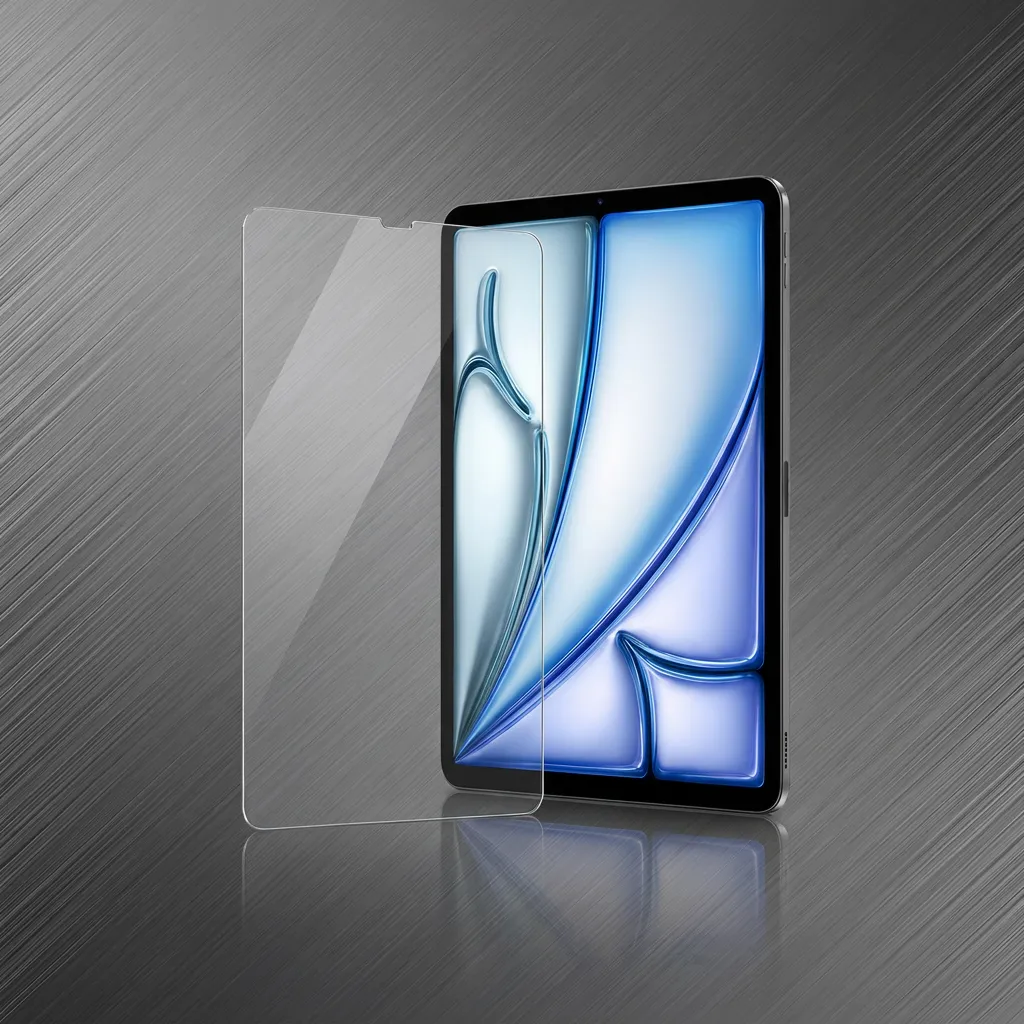
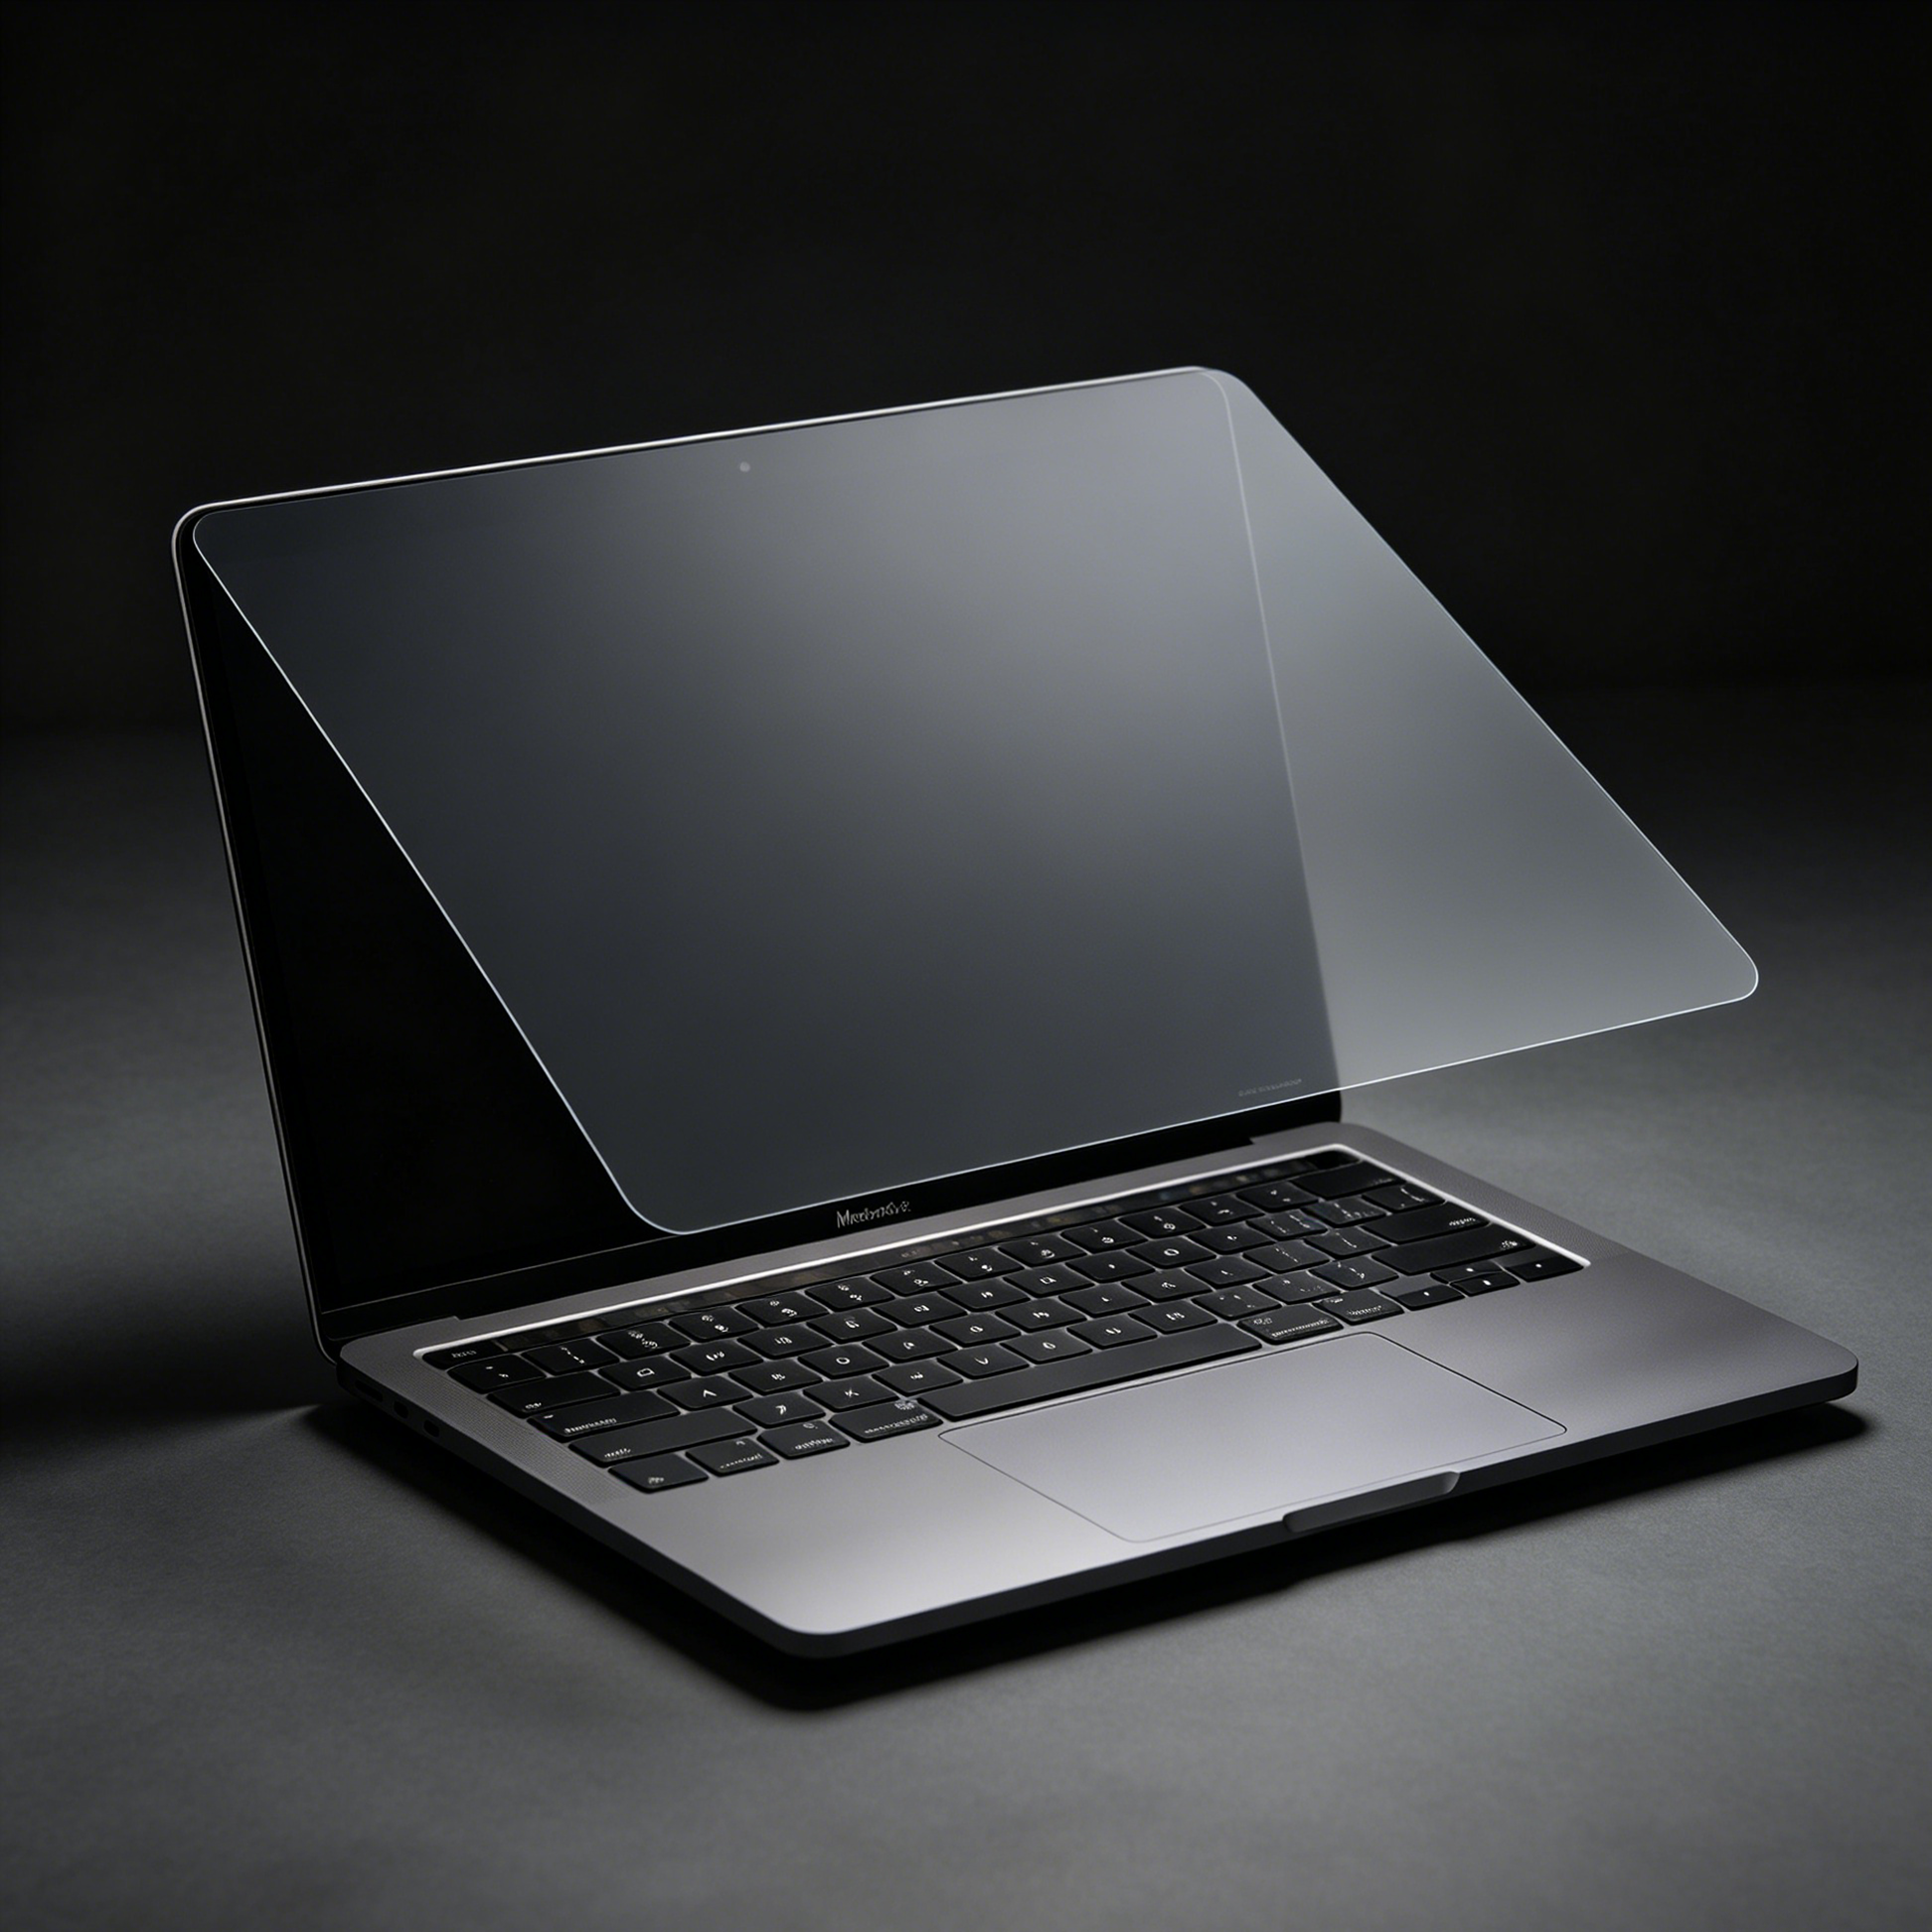
We’ve all been there: you spend 15 minutes meticulously lining up your new tempered glass screen protector, press it down, and—boom—a cluster of annoying air bubbles appears right in the middle of your screen.
Air bubbles are the number one enemy of a flawless phone display. They don't just look messy; they can also reduce touch sensitivity and ruin your viewing experience.
But don't panic or rip the film off just yet! Whether you are dealing with a fresh installation or an old film that has started to lift, here is a step-by-step guide on how to remove bubbles from a screen protector like a pro.
Before fixing them, it helps to know what you are dealing with. Screen protector bubbles usually fall into two categories:
Air Pockets: These are just trapped air. They usually happen when the protector isn’t pressed down evenly from the center outward. (The good news? These are easy to fix!).
Dust Bubbles: If there is a tiny, microscopic speck of dust caught between the glass and your phone, it lifts the protector and creates a permanent bubble. (These require a bit more surgery).
If your bubble doesn't have a tiny black dot or dust speck in the middle, it's just air. You can easily slide it out.
Take a microfiber cloth and wrap it around the edge of a credit card or an ID card (this prevents scratching the new protector).
Start from the center of the bubble and firmly push it toward the nearest edge of the screen. Think of it like using a squeegee on a window.
If the bubble stays stuck, use your fingernail to gently lift the closest corner of the screen protector just enough to let the air gap open up to the bubble. Then, press the protector back down smoothly from the inside out.
If you look closely and see a tiny speck of dust causing the bubble, pushing it won't work. You need to remove the debris.
Gently lift the edge of the tempered glass closest to the dust bubble using a piece of thin plastic or your fingernail. Do not bend the glass too much, or it will crack.
Take a piece of sticky tape (or the dust sticker that came with your kit). Insert the tape face-up under the lifted protector, press it against the sticky side of the film where the dust is, and pull it out. The tape will grab the dust speck.
Let the protector fall back onto the screen. Use your fingers to press it down from the center out. The bubble should now be completely gone!
Let's be honest: trying to manually align a screen protector while praying that no dust falls from the ceiling is a stressful game. Even professionals mess it up sometimes.
If you want to completely skip the frustration of air pockets, dust specks, and crooked alignments, it’s time to upgrade how you protect your devices.
At LUSA DESIGN, we engineered the ultimate solution: the 10-Second Auto Dust-Elimination Kit.
Our premium Anti-Reflective (AR) and 180° Privacy Screen Protectors come with a built-in, foolproof installation tray.
Zero Dust: The tray automatically pulls away any microscopic dust right before the glass touches your screen.
Zero Bubbles: It applies perfectly even pressure automatically.
10 Seconds: Just pop your phone in, pull the tab, and you are done.
👉 [Discover LUSA DESIGN Flawless Install Screen Protectors (Shop the Flash Sale From $12.99!)]
Stop pushing bubbles around. Treat your iPhone, iPad, or MacBook to a premium, bubble-free view today!