A new iPhone setup is easier when hardware checks, data transfer, screen protection, and case installation happen in a deliberate order. The sequence gives you a clean baseline: if something behaves differently later, you know which step introduced the change.
Before opening a protector package, verify the device name in Settings, on the box, or in the purchase record. “Pro,” “Plus,” “Pro Max,” and standard models can have different dimensions even within the same generation. The correct model affects border alignment, the top sensor area, and the gap between glass and case.
Power on the phone and inspect the bare display under good light. Test touch response at the corners, type across the keyboard, open the front camera, play audio, and complete the initial software update if required. This confirms that the device works before a case or protector changes the physical setup.
Finish the basic migration while the phone remains easy to inspect. Connect to Wi-Fi, restore the backup, sign in, and allow important apps to finish downloading. Keep the workspace clean; packaging fibers and dust from boxes can settle on the screen if installation is delayed.
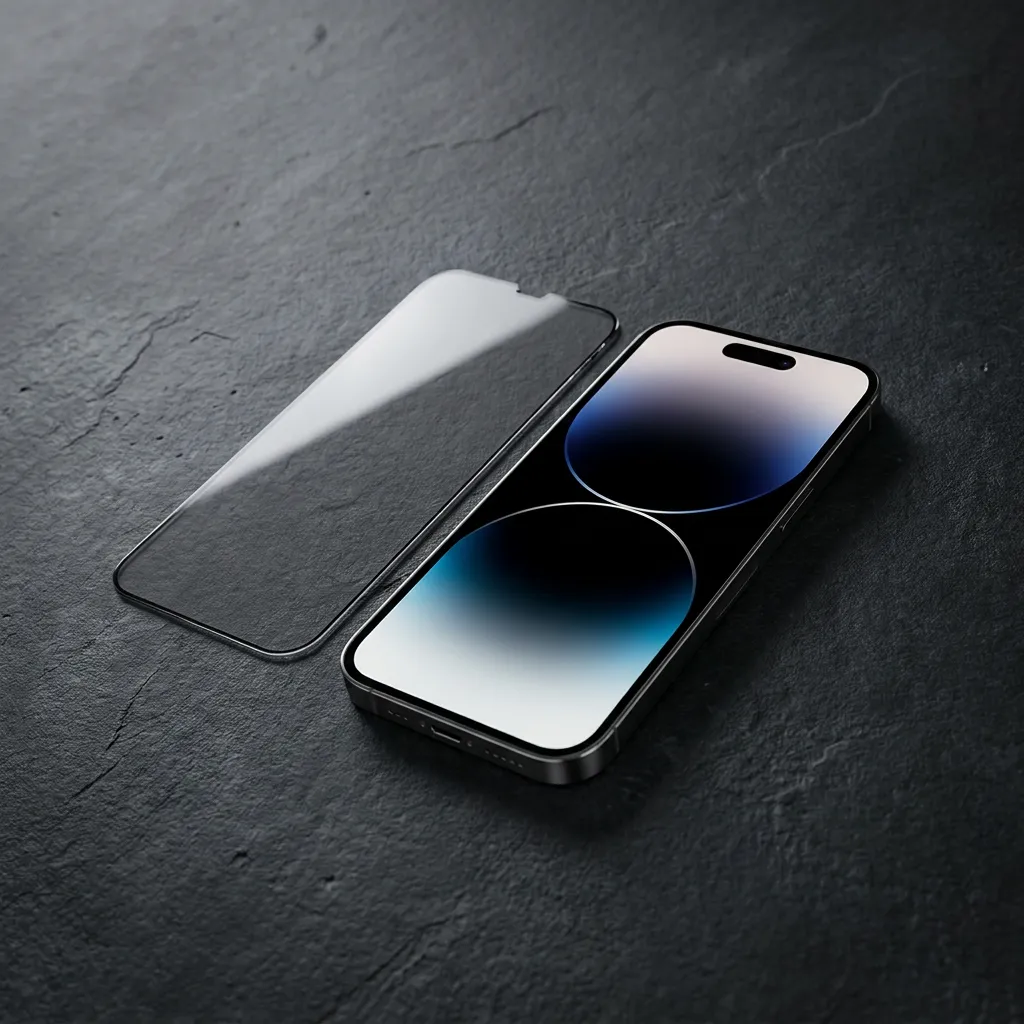
The LUSA DESIGN HD Anti-Reflective Screen Protector lists model-specific tempered glass and a dust-free installation tray. A guided tray helps control alignment before adhesive contact. Clean the screen, check it from more than one angle, and keep fingers away from the adhesive side.

If you prefer a flexible privacy layer, the LUSA DESIGN PET Full-Glue Privacy Screen Protector uses a different material and installation behavior. Its listing describes an ultra-thin PET full-glue film and says small installation bubbles or minor marks may settle within 24 hours. Read the selected product instructions because glass and flexible film should not be handled as if they are identical.
After installation, inspect the notch or Dynamic Island area for dust, haze, or misalignment. Unlock the phone from your normal distance, take a front-camera photo, type a short note, and repeat the corner touch test. This confirms that the completed installation works with the actions you use every day.
Fit the case one corner at a time without scraping the protector edge. Look for an even gap around all sides. If a case lip touches the glass, remove the case and compare the alignment before applying pressure. A tight case can lift a protector that looked perfect moments earlier.
Testing first gives you a reference point. Finishing the data transfer before installation keeps packaging dust away from the cleaned screen. Installing the protector before the case makes alignment visible, and repeating the same checks catches a problem while the workspace is still clean.