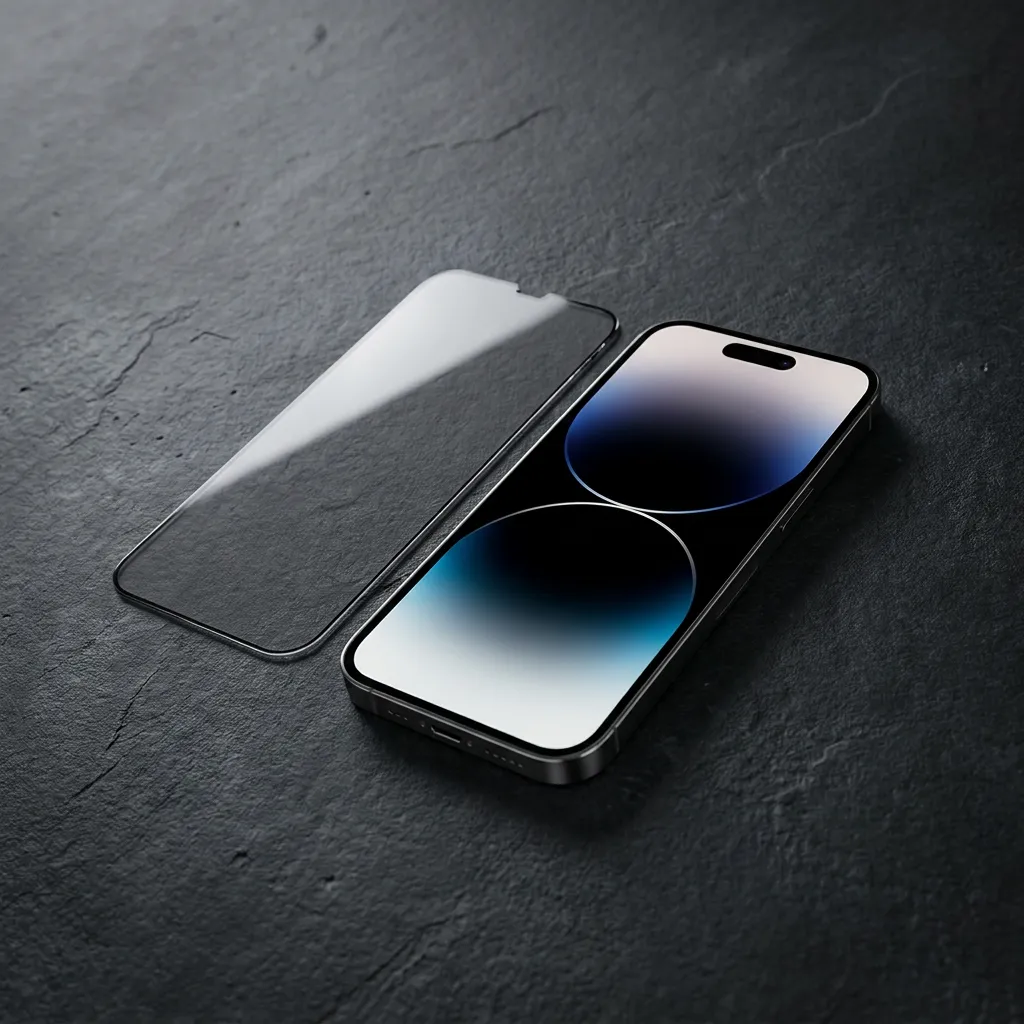
A tempered glass screen protector is designed to bond securely to the display, but it should still be removable when it becomes cracked, scratched, lifted, or worn.
The main risks during removal come from moving too quickly, forcing a sharp object under the glass, bending the protector excessively, or allowing broken pieces to scatter.
The safest method is simple: prepare the area, start from an intact corner, lift the protector gradually, and support the glass as the adhesive releases.
Consider removing and replacing the protector when:
Do not remove an undamaged protector only to check whether the phone screen is scratched. Every removal creates a possibility of contamination or accidental damage during replacement.
Prepare the following items:
Avoid knives, razor blades, metal picks, screwdrivers, pins, and other sharp tools. These can scratch the original display or damage the phone frame.
Powering off the device makes cracks, residue, and dust easier to see. It also prevents accidental taps while you handle the display.
Remove the charger, headphones, and connected accessories.
The case may overlap the protector or place pressure on its edges.
Use a table with good lighting. Avoid removing shattered glass over carpet, bedding, food, or a place where children or animals may contact small fragments.
Look for display lines, black areas, flickering, dead zones, or cracks that appear to continue beneath the protector.
If the original phone glass is clearly cracked, use extra caution. Apple and Google advise against continued use of phones with damaged or cracked glass because of the risk of injury.
Start with a corner that:
If one corner is already slightly lifted, begin there.
Use a clean fingernail or the edge of a thin plastic card.
Insert only enough of the card to separate the protector edge from the screen. Keep the card nearly parallel to the display.
Do not push the card deeply under the protector. The objective is to release the edge, not scrape across the phone glass.
Once the corner lifts, hold it between your fingers and continue pulling gradually.
Keep the lifting angle low. Avoid pulling the protector straight upward from one corner because this concentrates bending force in a small area.
ZAGG’s official removal guidance similarly recommends lifting a corner carefully, supporting the glass, and removing it slowly so that the protector does not break.
Move your fingers along the releasing edge as the adhesive separates.
Do not allow the protector to hang from a single corner. Support the free section with your other hand.
Tempered glass can break after removal if it is bent or dropped.
Place it flat in a box, rigid envelope, or other protected container before disposal.
A cracked protector requires additional control because individual sections may separate.
Apply overlapping strips of clear tape across the protector.
The tape helps hold cracked pieces together during removal. Do not press aggressively, especially if the original phone display may also be damaged.
Choose the most intact corner. Avoid beginning at a heavily shattered area.
Use a fingernail or plastic card to release the edge.
Keep the protector supported with both hands. Stop if the glass begins to fragment.
If one section starts separating, place another strip of tape across it before continuing.
Inspect the table, phone case, clothing, and floor for small pieces.
Do not wipe glass fragments away with your bare hand.
PET, TPU, hydrogel, and other flexible films are removed differently from tempered glass.
Lift one corner using a fingernail or a piece of tape. Pull the film back slowly at a low angle.
Do not stretch the film sharply upward. Pulling it close to the surface gives you more control and can reduce the chance of adhesive residue.
Some removable products are designed for reuse, while others cannot be reinstalled after removal. Belkin, for example, states that some PET overlays are removable but cannot be reapplied once they have been installed. Always follow the instructions for the specific product.
Most full-adhesive screen protectors should come away cleanly.
When residue remains:
ZAGG advises removing minor residue with a thumb and microfiber cloth after the protector has been lifted.
Do not pour liquid directly onto the phone. Avoid acetone, window cleaner, industrial solvent, adhesive remover, and abrasive cleaner.
A blade can scratch the screen, damage the bezel, cut a cable opening, or injure your hand.
Fast removal increases the chance of breaking the protector into smaller pieces.
Tempered glass may fragment suddenly when bent.
Excessive heat can damage the display, battery, seals, coatings, and adhesive.
Apple and Google recommend keeping phones within specified operating and storage temperature ranges and away from extreme heat.
Liquid can enter the speaker, buttons, charging port, camera opening, or damaged adhesive area.
The card should release the edge only. It should not be pushed across the full screen.
Some foldable phones include a factory-installed inner-screen protector that forms part of the display system.
Do not assume it can be removed in the same way as an ordinary tempered glass protector. Google specifically warns users of certain Pixel Fold devices not to peel back the pre-installed inner protector or apply a third-party protector because doing so can damage the flexible display.
Check the device manufacturer’s instructions before touching a foldable phone’s inner screen.
After the protector has been removed, turn the phone under bright light and inspect:
Turn on the display and open a plain white screen. Look for colored lines, dark areas, flickering, or touch dead zones.
Google’s Android troubleshooting guidance recommends removing a case or screen protector when diagnosing screen-response problems.
Reduce airflow from fans, air conditioners, and open windows.
Oil and dust from your fingers can contaminate the adhesive.
Use the cleaning materials included with the new protector. Remove moisture, fingerprints, and loose particles.
A particle that is almost invisible from the front may become obvious when light reflects across the display.
Check the exact phone model before removing the new protector from its packaging.
Make sure the protector and case are designed to work together.
Most full-adhesive tempered glass protectors should not be reused.
Removal can introduce dust, weaken the adhesive, bend the glass, or damage the edges. Even when the protector appears intact, the second installation may develop bubbles, lifting, or reduced adhesion.
Magnetic and specially designed removable privacy screens are separate product categories. Their manufacturer may permit repeated installation and removal.
A compatible protector that is removed slowly should normally release without damaging an intact screen. Damage is more likely when sharp tools, excessive heat, heavy force, or incorrect chemicals are used.
Floss is sometimes used to separate adhesive layers, but it can be difficult to control near buttons, speaker openings, and damaged glass. A plastic card or carefully lifted corner is generally easier to manage.
Do not apply uncontrolled heat. Most standard screen protectors can be removed without heating.
Cover the surface with clear tape, support the glass, and remove it in small controlled sections. Seek professional assistance when the original display is also damaged.
Use only a cleaning method approved for the device and protector. Start with a dry microfiber cloth. Never pour alcohol directly onto the phone.
Install the replacement after the screen is clean, dry, undamaged, and at a normal indoor temperature.
Safe removal depends more on control than force.
Start from an intact corner, use a plastic tool, maintain a low lifting angle, and support the glass as the adhesive releases. Tape a cracked protector before removal and keep sharp tools away from the original display.
After removal, inspect the phone carefully before installing a new device-specific protector.
LUSA DESIGN offers screen-protection options across phones, tablets, laptops, watches, camera lenses, and other device categories.