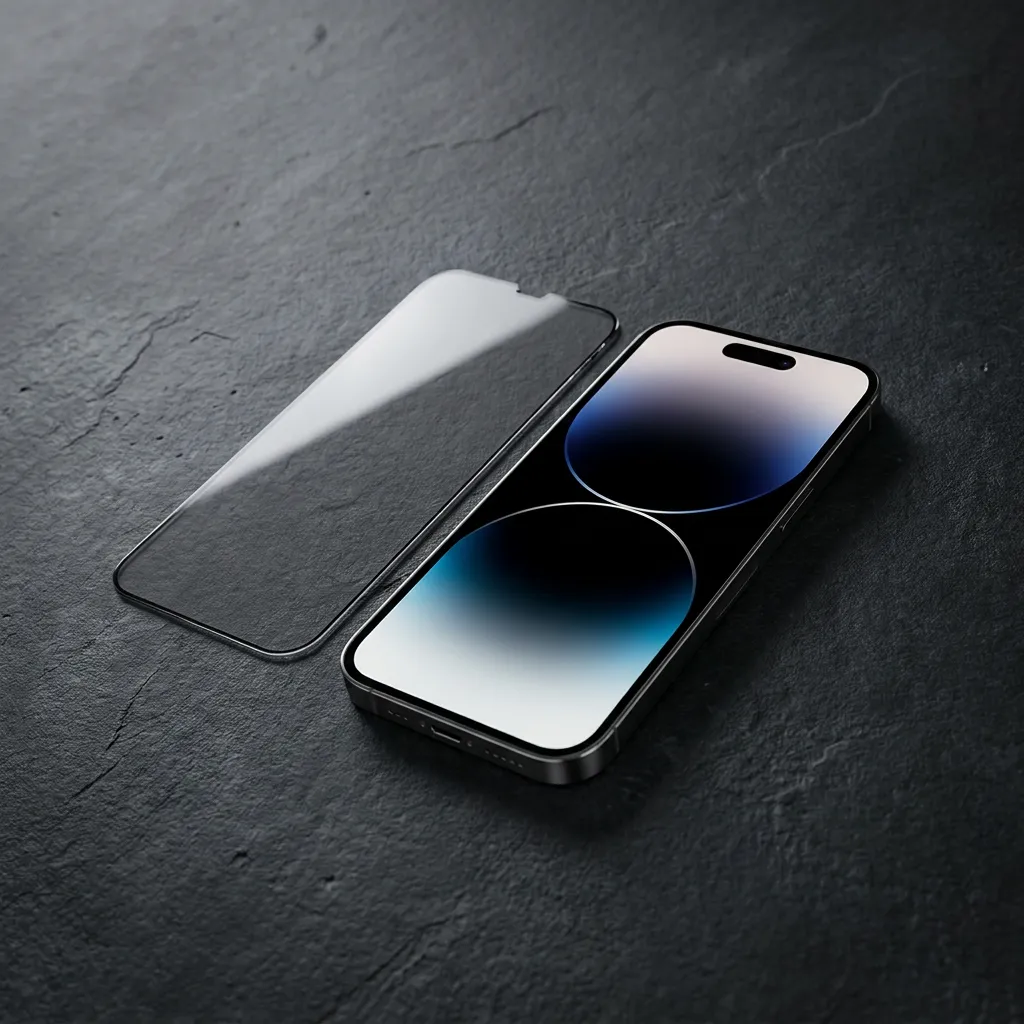
The hardest part of installing an iPhone screen protector is usually not pressing the glass onto the display. It is controlling three things at the same time: dust, alignment, and adhesive contact. One speck of lint can create a stubborn bubble, while a slightly crooked start can leave an edge hanging over the phone.

A dust-free screen protector installation tray is designed to make those variables easier to manage. It holds the phone and protector in a fixed relationship and may include a system that removes dust immediately before the adhesive layer meets the screen.
The result can be more consistent, especially for a first-time installer, but an installation tray is not magic. Preparation still matters, and different products use different mechanisms. This guide explains what the tray does, what it cannot do, and how to use one without making assumptions about a specific kit.
An air bubble and a dust bubble are not the same problem.
A simple air pocket may move when you press it toward the nearest edge. A dust bubble has a particle trapped between the protector and the display. The adhesive cannot make full contact around that particle, so pushing harder rarely solves it.
Dust can come from:
The goal of a dust-control system is to reduce the time and open area in which those particles can land.
An installation tray is a molded guide that positions the phone and protector. Instead of manually hovering a piece of glass over the display and guessing where the edges should land, you place the components into the guide and follow the product's release process.
Depending on the design, a tray may help with:
The exact sequence varies. Some kits use a pull tab, some use a sliding mechanism, and others use a cover that presses or releases the protector. Always follow the included instructions even if you have installed a different tray before.
Auto dust elimination generally refers to a layer, strip, or tray action that collects remaining particles as the protector is prepared for contact with the screen. It is intended to add a final dust-control step after the display has already been cleaned.
It does not mean you can skip preparation. Oil, dried residue, large particles, and fingerprints still need to be removed before the phone enters the tray.
The LUSA DESIGN HD Anti-Reflective Screen Protector listing describes an integrated auto dust-elimination system and a 10-second dust-free installation tray. Its product page says the tray is intended to minimize dust, bubbles, and alignment errors while preserving touch sensitivity and clarity. The same listing describes tempered glass with an AR coating and provides model options across several iPhone generations.
A separate LUSA DESIGN anti-glare and anti-reflective 9H glass listing specifies a dust-free installation chamber and professional alignment tools. The page lists both transparent glass and AR options in two-packs for selected iPhone 15, 16, and 17 models.
These are examples of assisted installation systems. Their steps and included parts may differ, so use the manual packaged with the exact product.
Manual installation relies on your view of the speaker, camera area, and screen edges. Once the adhesive touches the display, major correction may require lifting the protector.
A tray uses a physical frame to constrain placement. This reduces the chance that one side will sit higher than the other.
During a manual installation, the adhesive side may remain exposed while you line up the protector. Every extra second creates another opportunity for airborne dust to land.
A closed or guided tray can shorten that exposure and keep your hands farther from the adhesive surface.
Manual application can work well when the protector is lowered evenly and allowed to adhere from one area outward. Pressing randomly in several spots may trap air.
A tray is designed to create a repeatable release path. The mechanism varies, but the goal is more controlled contact.
An experienced installer can achieve a clean result manually. A beginner may find a tray less stressful because it replaces visual guesswork with fixed positioning.
The tradeoff is that you must follow the tray's sequence. Pulling the wrong tab or removing the phone too early can interfere with the process.
Even the best alignment tray cannot compensate for a dirty screen. Take a few minutes to prepare.
Avoid working beside an open window, fan, heating vent, or fabric-covered surface. A recently cleaned bathroom can sometimes have less airborne dust than a bedroom, but do not install while the room is humid or surfaces are wet.
Use a stable table with enough light to see particles on the display.
A case can prevent the phone from sitting flat in the tray. It may also carry dust around its edges. Remove it and clean the outer frame of the phone before installation.
Clean hands reduce oil and lint. Dry them with a low-lint towel and avoid touching the screen after the final cleaning step.
Do not open the adhesive backing until you confirm that the protector and tray match the exact iPhone model. Place the unopened or protected piece over the phone visually if the instructions allow, checking the shape and sensor area.
Because tray mechanisms differ, the following is a general preparation framework rather than a replacement for the product manual.
Identify every tab, film layer, and moving part before cleaning the screen. Watch the brand's installation video if the package provides a link or QR code.
Do not assume that numbers printed on different films mean the same thing across brands.
Use the supplied cleaning materials in the stated order. Remove oil, then dry the screen completely. Use the included dust-removal sticker to lift visible particles rather than wiping them around.
Tilt the phone under a bright light and inspect from several directions.
Seat the phone fully into the guide without forcing it. Check that buttons, camera areas, and the outer frame align with the tray shape.
If the phone rocks or does not sit flat, stop. Recheck the model and look for debris or a remaining case accessory.
Use the pull tab, slider, cover, or release action exactly as shown in the product instructions. Keep the tray on the table while you work. A steady surface helps the mechanism maintain alignment.
Do not rush beyond the stated motion. A fast, angled pull can disturb a system designed for a straight release.
After the protector contacts the screen, follow the instructions for pressing or waiting. If the product tells you to press along a marked line or move a tool across the surface, use that method.
Avoid repeatedly lifting the protector to chase a small air pocket before the initial adhesion process finishes.
Lift the phone out only when instructed. Check the edges, camera area, and full display under good light.
If you see a bubble, determine whether it contains dust. A clear air pocket may be guided toward the closest edge with a wrapped squeegee. A bubble with a visible particle may require a dust sticker and careful lifting, but only if the product instructions permit it.
A display can look clean while one fiber remains near the edge. Examine it under direct light immediately before closing or activating the tray.
A fingerprint on the adhesive is difficult to remove without causing more contamination. Handle the protector only by the areas indicated in the instructions.
A nearly correct fit is still wrong. Sensor cutouts, borders, and dimensions need to match the exact iPhone.
If a tray uses a pull tab, the direction matters. Keep the unit flat and follow the illustrated motion.
The case may prevent the phone from seating correctly or push against the protector during application.
Pressure cannot make a solid particle disappear. Identify the cause before applying more force.
A dust-free tray is particularly useful when:
It may matter less if you are experienced with manual installation or using a flexible film that requires a different application method.
Choose the exact iPhone model from the listing. The LUSA DESIGN HD AR product page lists options across iPhone 12 through selected iPhone 17 models, but availability must be checked on the current product menu.
Confirm whether the package contains tempered glass, flexible film, clear glass, or AR glass. The installation tool does not determine the optical or protective properties.
Some kits are sold as single units, while others include two protectors. Verify the selected option rather than assuming the package quantity from a product title.
Look for cleaning materials, dust stickers, the alignment tray or chamber, and clear instructions. If the contents are not listed, ask before ordering.
A perfectly aligned protector can still lift if the phone case pushes against its edge. Check both products for compatibility.
No system can guarantee a perfect result in every environment. A tray reduces common causes such as misalignment and last-second dust, but cleaning, handling, and following the release sequence still matter.
It depends on the product. Some trays are tied to a single protector and release mechanism. Check the package instructions before trying to reuse it.
Reducing airborne dust can help, but excess moisture is not desirable around the phone or adhesive. Use a clean, dry, low-dust room.
First inspect it for dust. Pure air may move toward the nearest edge. A dust particle requires a different remedy and may need careful lifting with a dust-removal sticker if the instructions permit.
No. It is an installation tool. Clarity, glare reduction, scratch resistance, touch feel, and privacy depend on the protector itself.
Related reading: How to Remove Bubbles from a Screen Protector.
A dust-free screen protector installation tray addresses the two mistakes that cause most failed applications: poor alignment and particles trapped under the adhesive. It does not replace cleaning, but it gives the protector a more controlled path onto the display.
Choose a kit made for your exact iPhone, read the instructions before removing any film, and work in a clean, well-lit area. A few careful minutes of preparation can make the assisted installation process far more reliable.
Explore LUSA DESIGN iPhone screen protectors with dust-control installation systems and choose the material, coating, and model fit that match your phone.